Spicy pickled green beans are one of those small-batch projects that feels fancy but is actually pretty simple. If your garden is producing faster than you can sauté, or you found a good deal at the market, pickling turns a big handful of beans into something you will snack on for weeks.
Below I’ll walk you through two realistic paths: quick refrigerator pickles (easiest, no special equipment) and water bath canning guidance (for shelf stable jars, using a tested recipe). I’ll also share the little details that make the difference between crunchy beans and limp ones.
What makes pickled green beans so good
- They stay snappy when you prep them right, even after soaking in brine.
- They are flexible: change the heat level, add dill, swap vinegar types, or toss in peppercorns.
- They are practical: a jar in the fridge is an instant snack, salad topper, or Bloody Mary garnish.
Pickle safety: quick pickles vs canning
Refrigerator pickles (recommended for most home growers)
This is the no-stress method. You pour hot brine over beans in a clean jar, cool, then refrigerate. They are ready fast and taste bright and fresh.
- Storage: Keep refrigerated (40°F / 4°C or colder).
- Best quality: Best within about 3 to 4 weeks.
- Typical fridge life: Often keeps up to 2 months if kept very cold and you use clean utensils.
- Safety note: Do not store at room temperature. Keep the beans submerged under brine. Discard if you see mold, get an off smell, or notice unexpected fizzing.
Water bath canning (shelf stable)
Green beans are low-acid, so canning is only safe when they are properly acidified and processed. If you want jars that hold on the pantry shelf, you need a tested canning process and proper acidity. Use a 5% acidity vinegar and follow a reputable, tested recipe and processing time for your jar size and elevation.
- Storage: Pantry once sealed, then refrigerate after opening.
- Best quality: About 1 year.
- Important: Do not “wing it” with canning brine ratios or processing times.
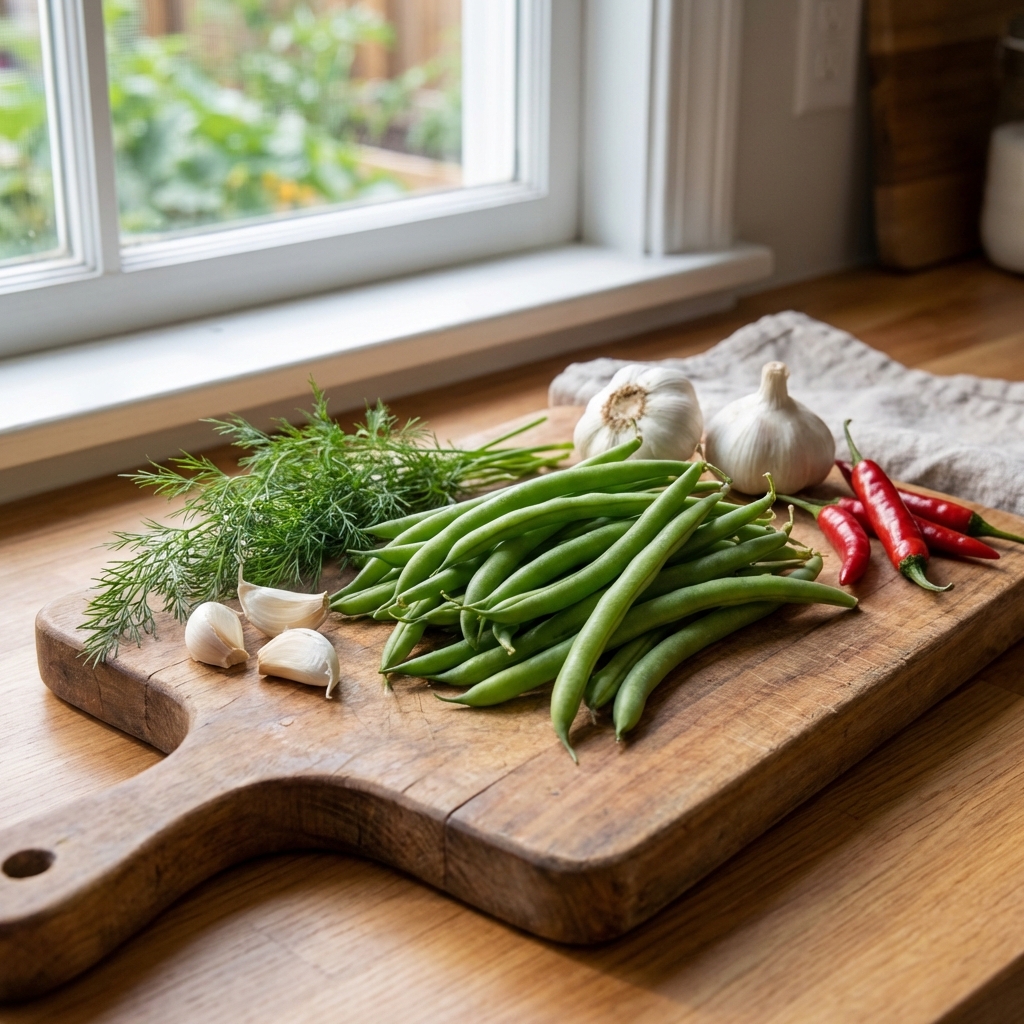
Ingredients that actually matter
Green beans
For crisp pickles, start with the freshest beans you can get. Garden-picked that morning is ideal. Older beans get woody and do not pickle as nicely.
- Best type: Slim, firm snap beans (green or yellow wax beans both work).
- Size tip: Aim for beans that are fairly uniform so they pickle evenly.
- Prep tip: Trim the stem ends. You can leave the tail end on.
Vinegar
Use vinegar labeled 5% acidity. Distilled white vinegar is the most consistent. Apple cider vinegar adds a warmer flavor but can darken the brine a bit.
Salt
Use pickling salt or kosher salt. Avoid iodized table salt if you can, since it can cloud the brine and sometimes affects flavor. Note: kosher salt brands vary a lot by volume. If you use Diamond Crystal (lighter flakes), you may want a little more than 1 tablespoon to get the same saltiness as pickling salt or Morton’s.
Spice and aromatics
- Garlic: A must for that classic “dilly bean” vibe, even if you skip dill.
- Heat: Fresh hot peppers, dried chile peppers, or red pepper flakes.
- Optional: Dill sprigs, mustard seed, black peppercorns, coriander seed, bay leaf.
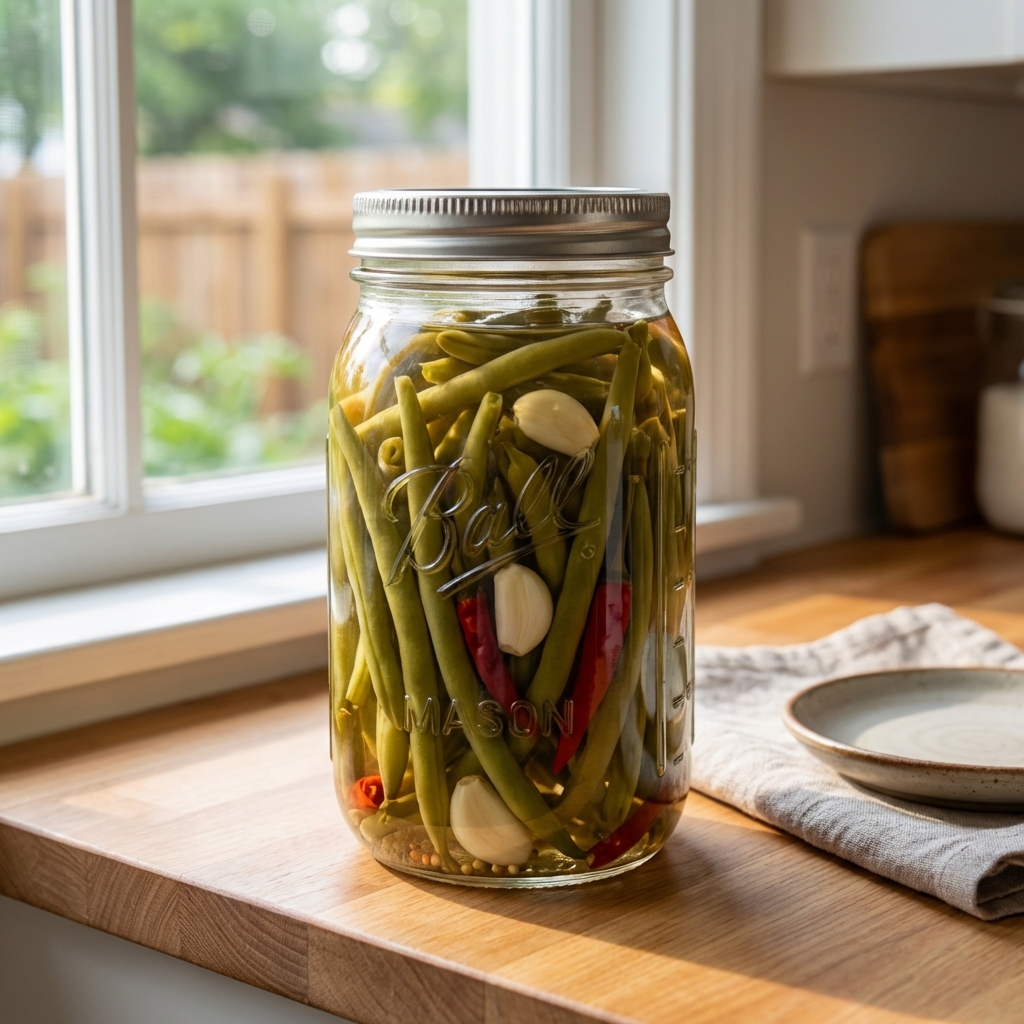
Refrigerator spicy pickled green beans (simple base recipe)
This recipe is meant for the real world. It is forgiving, fast, and great for small batches. It makes about 1 quart jar (or two pint jars), depending on how tightly you pack.
Ingredients
- 1 to 1 1/4 pounds fresh green beans, washed and trimmed
- 1 cup vinegar (5% acidity)
- 1 cup water
- 1 tablespoon pickling salt (or kosher salt, see note on brand differences above)
- 1 to 2 tablespoons sugar (optional, balances the bite)
- 2 to 4 garlic cloves, peeled
- 1 to 3 hot peppers (or 1/2 to 1 teaspoon red pepper flakes)
- Optional: 2 to 4 dill sprigs, 1 teaspoon mustard seed, 1 teaspoon peppercorns
Steps
Prep the jar. Wash a quart jar (or two pint jars) and lid(s) with hot soapy water. No need to sterilize for refrigerator pickles, but do start very clean. Use a non-reactive, food-safe jar and lid, and make sure everything is dry and fresh-smelling.
Pack the flavor. Add garlic, hot peppers, and any optional spices to the jar.
Pack the beans. Stand beans upright if you can. It looks nice and helps them fit. Leave about 1/2 inch of headspace.
Make the brine. In a small pot, bring vinegar, water, salt, and sugar (if using) to a simmer. Stir until dissolved.
Pour and cool. Set the jar on a folded kitchen towel (helps prevent thermal shock). Carefully pour hot brine over the beans until fully covered. Tap the jar lightly to release air bubbles and top off with brine if needed so the beans stay submerged. Let cool to room temperature (about 1 hour), then refrigerate. Do not leave it out overnight.
Refrigerate. Lid on, into the fridge. They taste good in 24 hours, better after 3 to 5 days.
How spicy is it?
Heat is personal and peppers vary. If you want control, start with one hot pepper per quart (or 1/2 teaspoon flakes). You can always add more heat next batch. If you want serious kick, add two peppers and a pinch of flakes.
Crunch tips
- Use fresh beans. Beans that have been sitting around get softer, no matter what you do.
- Do not overcook them. For refrigerator pickles, you do not need to blanch. If you do blanch, keep it to 30 seconds, then ice bath.
- Trim and pack tight. Tightly packed beans move less and stay firmer.
- Keep them cold. Refrigeration helps maintain texture for quick pickles.
- Consider a grape leaf (optional). One clean grape leaf in the jar may help with crispness for some people because of tannins, but results vary. Not required, just a nice trick if you have grapes nearby.
Flavor variations that work
Classic dilly style
- Add 3 to 4 dill sprigs
- Add 1 teaspoon mustard seed
- Use 1 hot pepper for gentle heat
Garlic-forward and fiery
- Use 4 to 6 garlic cloves
- Add 2 hot peppers plus 1/2 teaspoon red pepper flakes
- Add 1 bay leaf
Smoky
- Use dried chipotle chile (1 small pepper per quart)
- Add 1/2 teaspoon smoked paprika
- Use apple cider vinegar for a rounder flavor
Sweet heat
- Increase sugar to 2 to 3 tablespoons
- Use red pepper flakes instead of whole peppers for even heat
- Add a few thin slices of onion
If you want to water bath can them
If you are set on shelf-stable jars, my advice is simple: use a tested canning recipe from a reliable source (like the National Center for Home Food Preservation or your local extension office). Canning is not the place for casual adjustments.
- Start with a tested recipe: National Center for Home Food Preservation, “Dilly Beans” (water bath canning). Processing time varies by jar size and elevation, so follow the chart for your situation.
- Use vinegar with 5% acidity.
- Keep the vinegar-to-water ratio as written.
- Use proper canning jars and two-piece lids.
- Leave the headspace the recipe calls for and remove air bubbles before processing.
- Process for the full time for your jar size and elevation.
- Do not thicken the brine or add oil.
If you just want great pickled beans and you are not trying to store a pantry full, refrigerator pickles are the safer, easier win.
Troubleshooting
My beans turned olive green
Totally normal. Vinegar and heat can change the color, and it is more common when you use hot brine (or blanch). As long as they were handled cleanly and kept refrigerated, color change alone does not indicate spoilage.
They are too salty
Next batch, reduce salt slightly or add a bit more sugar. Keep in mind kosher salt brands vary. Do not dilute the brine after the fact if you plan to keep them longer, since changing the brine can affect quality and consistency.
They are not spicy enough
Let them sit a few more days. Heat blooms over time. If they still feel mild, add a pinch of red pepper flakes to the jar and wait another day.
They are soft
Usually it is older beans, over-blanching, or the beans were left at room temperature too long. Start with fresher beans and skip blanching for refrigerator pickles.
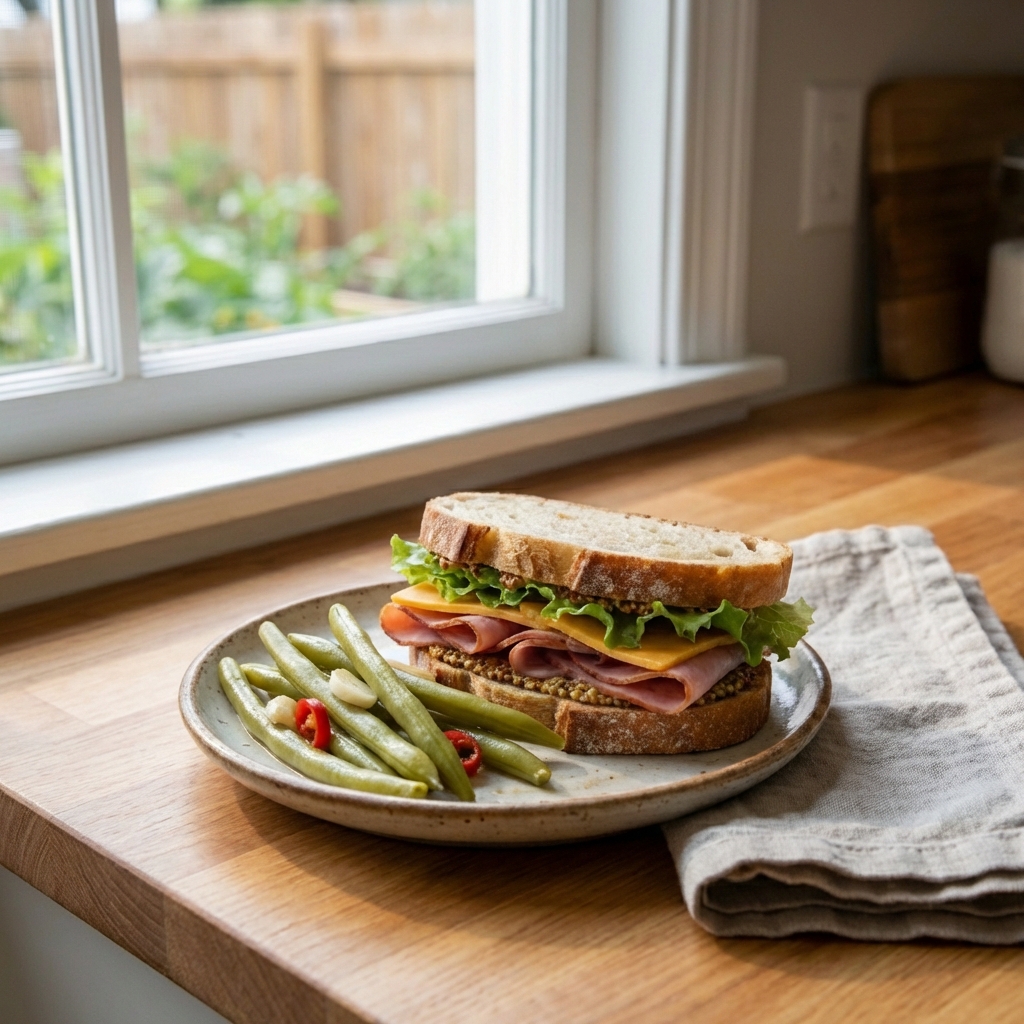
How to serve spicy pickled green beans
- Snack: Straight from the jar.
- Charcuterie: A crunchy, acidic bite next to cheese and cured meats.
- Salads: Chop and toss into potato salad, pasta salad, or a simple green salad.
- Drinks: The classic Bloody Mary garnish.
- Sandwiches: A few beans on the side beats chips most days.
Quick pickling checklist
- Fresh, firm beans
- Clean jar and lid
- 5% acidity vinegar
- Pickling or kosher salt (know your brand)
- Garlic + your choice of heat
- Keep beans submerged
- 24 hours minimum in the fridge, 3 to 5 days is better
If you try a batch, keep notes on the pepper you used and how hot it felt after a week. That one small habit is how you dial in a recipe that matches your backyard and your taste.

Jose Brito
I’m Jose Britto, the writer behind Green Beans N More. I share practical, down-to-earth gardening advice for home growers—whether you’re starting your first raised bed, troubleshooting pests, improving soil, or figuring out what to plant next. My focus is simple: clear tips you can actually use, realistic expectations, and methods that work in real backyards (not just in perfect conditions). If you like straightforward guidance and learning as you go, you’re in the right place.