Saving green bean seeds is one of the easiest ways to become a more self-reliant gardener. Beans are generous plants, the seeds are big and simple to handle, and you can get a surprising amount of seed from just a few pods. The trick is letting the pods mature fully on the plant, drying them the right way, and storing them so moisture does not sneak back in.
This guide walks you through the whole process, with realistic expectations for home gardens and a few problem-solvers for when weather or pests get in the way.
Start with the right kind of bean
Before you save seed, it helps to know what you are working with. Most home gardeners can save bean seed successfully, but your results depend on the type you planted.
Snap beans vs dry beans
Most “green beans” are snap bean varieties of common bean (Phaseolus vulgaris). Seed saving is the same process whether you grew them for tender pods or for dry beans. The difference is simply when you harvest: for seed, you leave pods until they are fully mature and dry. (Yes, the mature beans are edible, but many snap varieties are not as tasty as purpose-grown dry beans.)
Open-pollinated and heirloom beans
These are the best choices for seed saving because the seeds will grow into plants that look and perform like the parent plant, as long as the variety was not crossing with another variety.
Hybrid beans
You can save seed from hybrids, but the next generation may not match the plant you loved. You might still get good beans, just not predictable ones.
Do beans cross-pollinate?
Common beans are mostly self-pollinating, which makes them beginner-friendly for seed saving. That said, crossing can happen, and the risk goes up when you have multiple varieties flowering at the same time, they are planted close together, and pollinators are active.
If you want to keep a variety very true: grow one variety that season, or separate varieties as much as you reasonably can. As a simple backyard guideline, aim for 20 to 50 feet (more is better) between varieties. For strict purity in small spaces, you can also cover a few flower clusters with a breathable bag and save seed from the pods that form under the cover.
Choose plants for seed
Seed saving is also selection. You are deciding which plants get to represent your garden next year.
- Pick healthy, productive plants that handled your conditions well.
- Skip plants that struggled with disease, severe pest damage, or poor vigor.
- Do not save from plants with obvious virus symptoms (mosaic patterns, severe leaf distortion) or heavy bacterial issues. If in doubt, do not save that seed.
- Tag a few plants early so you are not tempted to harvest those pods for dinner.
If you only have space for a few plants, save from at least 3 to 6 plants. That is a practical minimum for most home gardens. If you can, saving from 10 to 20+ plants does a better job of maintaining an open-pollinated variety over the long haul.
When to harvest pods
This is the part that feels backwards if you are used to picking tender snap beans. For seed, you want the pods to go way past eating stage.
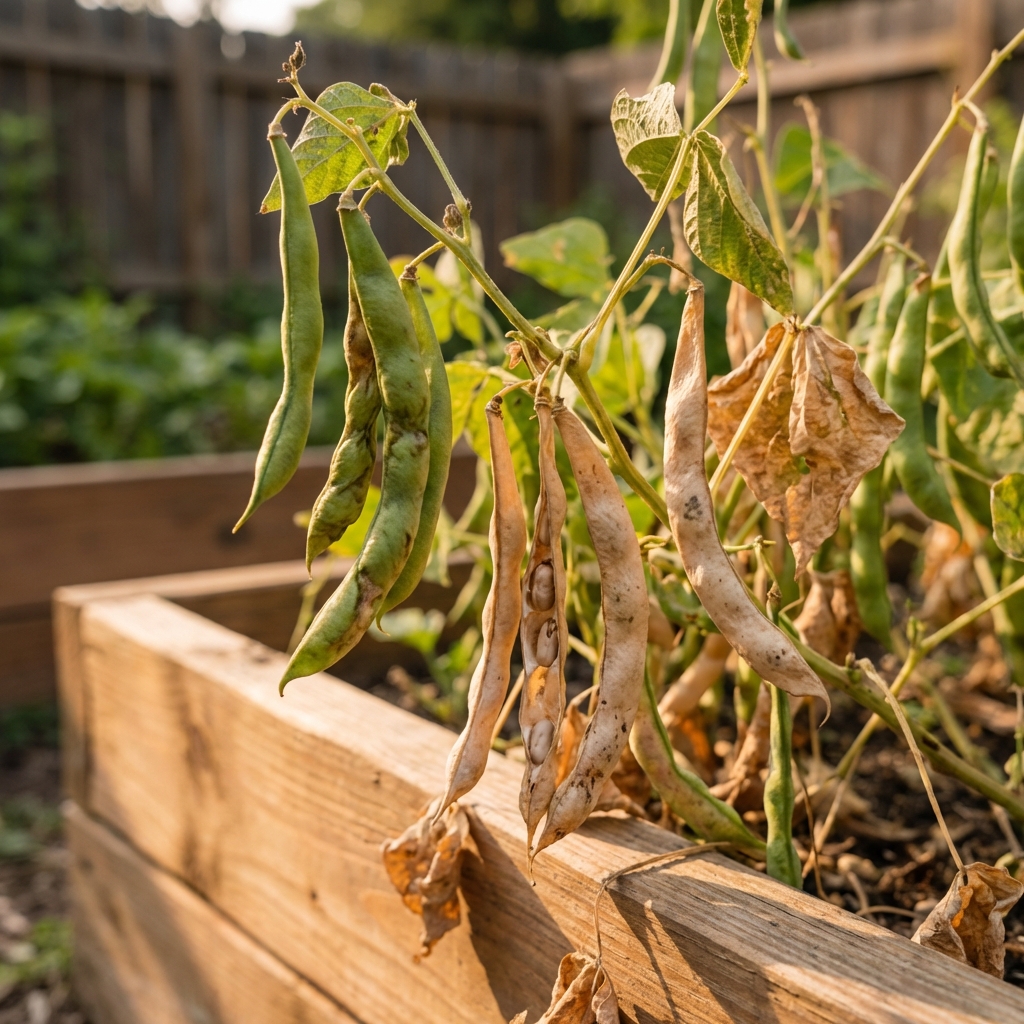
What ready looks like
- Pods turn from green to yellow, tan, or brown.
- Pods feel dry and papery, not flexible and juicy.
- You can often hear seeds rattle inside.
- Seeds inside are plump and hard, not soft or dentable with a fingernail.
Best case: let pods dry on the plant until they are fully tan and crisp.
Real life: if a long wet spell is coming, harvest pods that are mostly mature (yellowing and leathery), then finish drying them indoors. This reduces the risk of mold and sprouting in the pod.
How to harvest and shell seeds
Step 1: Pull the mature pods
Harvest only the pods you are saving for seed, ideally from your tagged plants. If you accidentally mix mature seed pods with eating beans, it gets confusing fast.
Step 2: Dry the pods (if needed)
Spread pods out in a single layer somewhere dry with decent airflow. A paper bag left open, a cardboard box, or a screen works well. Avoid sealed plastic at this stage.
Good drying spot: indoors, out of direct sun, low humidity, and away from where pets can knock things over.
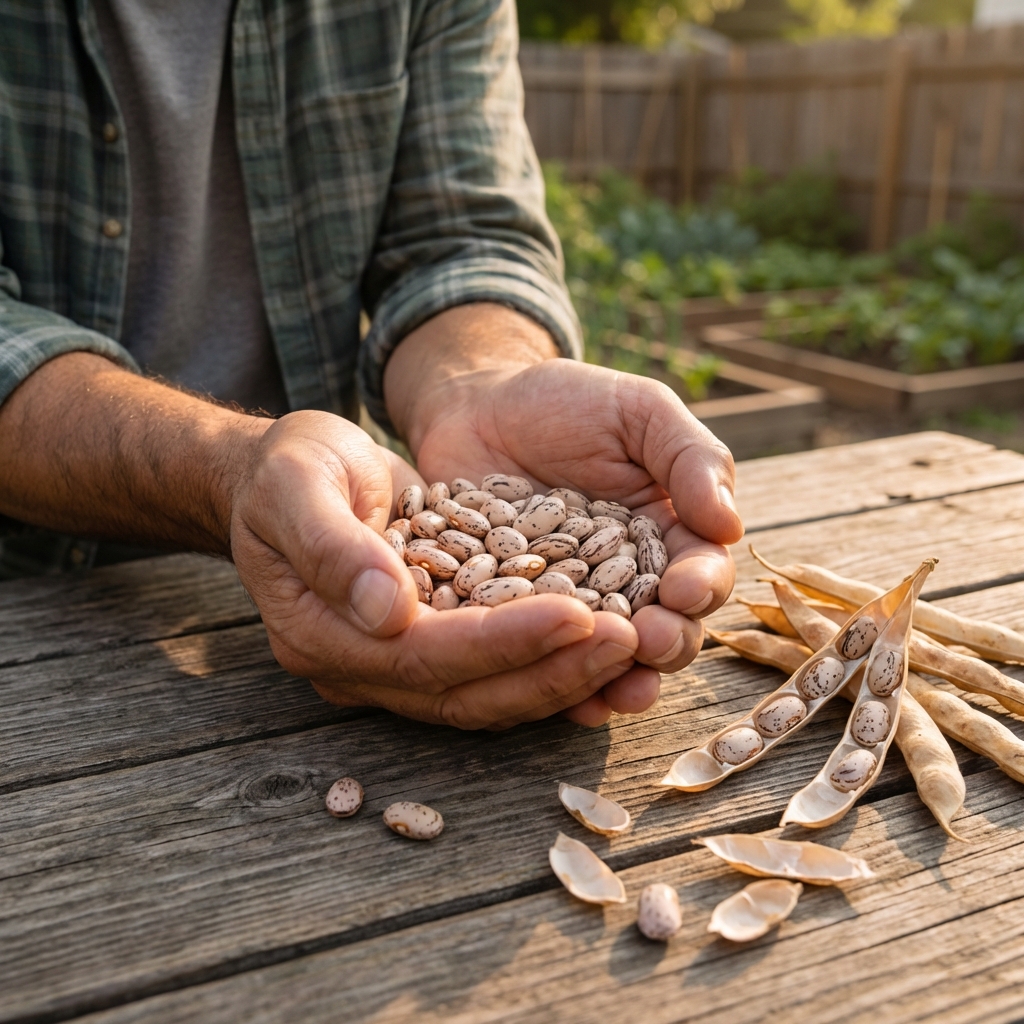
Step 3: Shell the pods
Once pods are crisp, shell by hand. For larger batches, you can put pods in a clean pillowcase and gently stomp or roll them to crack the pods, then separate seeds from chaff.
What to keep: well-formed, fully filled seeds. Discard seeds that are shriveled, cracked, moldy, spotted, or have small holes.
Final seed drying
Even if the pods feel dry, the seeds can still hold moisture. That leftover moisture is what causes mold in storage.
A simple home method
- Spread shelled beans in a single layer on a plate, tray, or screen.
- Let them air-dry indoors for 7 to 14 days, longer if your home is humid.
- Stir or shake them once a day so all sides get airflow.
How dry is dry enough?
Bean seeds should be hard like a pebble. A practical test is to try to dent one with a fingernail. It should not give. Another option is a gentle “crush test” with a spoon or small hammer on a single sacrificial seed: a dry seed tends to crack cleanly instead of mashing.
If you use the classic bite test, be careful if you have sensitive teeth or dental work. You are looking for “too hard to dent,” not a dentist bill.
Avoid oven drying. Kitchen ovens and dehydrators can easily get warm enough to damage seed viability.
Optional germination test
If you are saving seed from a new variety, a weird season, or pods that had to finish drying indoors, a germination test can save you a lot of frustration in spring.
Paper towel method
- Count out 10 seeds.
- Moisten a paper towel so it is damp but not dripping.
- Fold seeds inside, place in a loosely closed plastic bag, and keep warm.
- Check daily for 7 to 10 days.
If 8 out of 10 sprout, that is roughly 80% germination, which is usually fine. If germination is low, you can still plant them, just sow more thickly or plan to replace the seed.
How to store seeds
For long-lived seeds, you want three things: dryness, cool temperatures, and darkness.
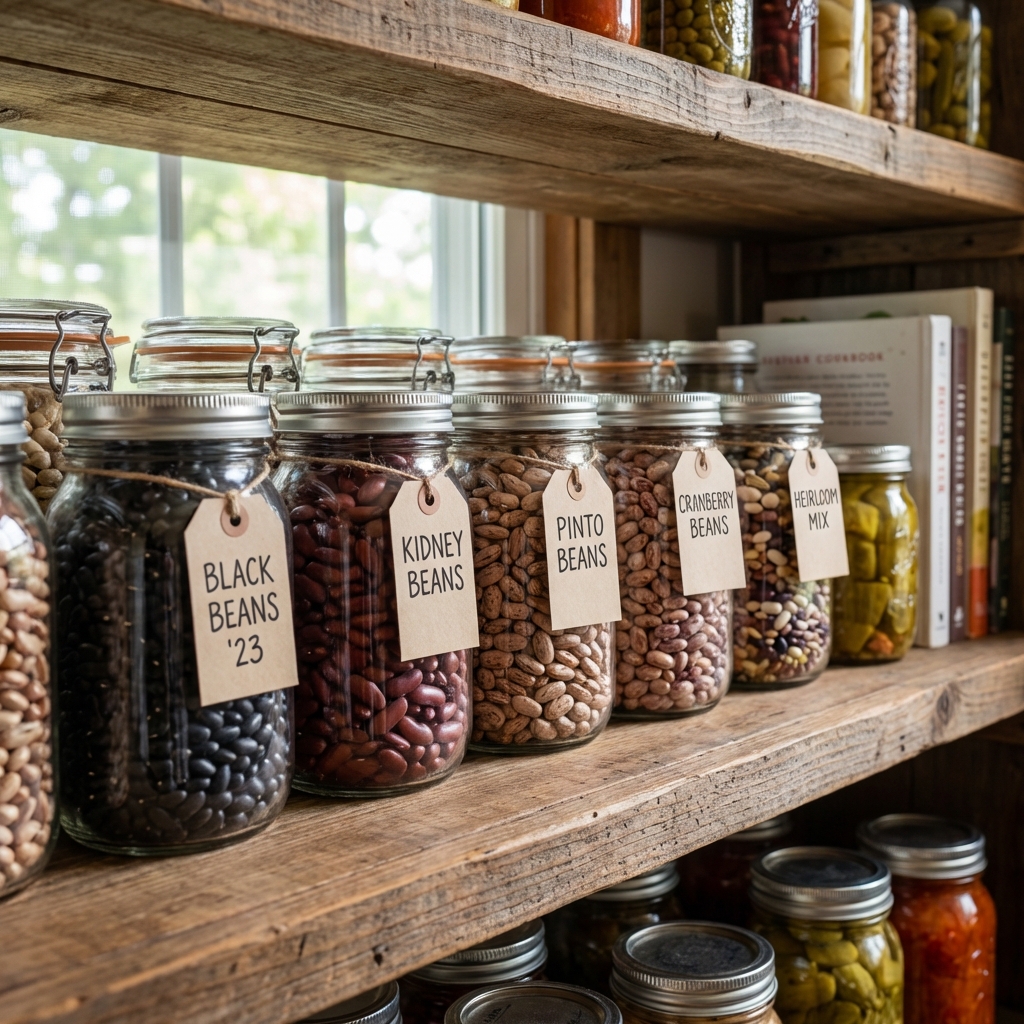
Best storage options
- Glass jar with a tight lid (my go-to for most seeds).
- Paper envelope inside a sealed container if you want extra labeling space.
- Seed packets in an airtight bin with a drying agent.
Moisture protection
Silica gel is the best easy insurance against humidity. If you do not have silica gel, a tablespoon of very dry rice wrapped in a bit of paper towel can help a little as a short-term backup, but it is not as effective as a real desiccant. Keep any moisture buffer separate from the seeds.
Where to keep them
- A cool closet or basement shelf is usually fine.
- A refrigerator can work if seeds are truly dry and sealed well.
- Avoid hot garages, sheds, and spots that swing warm and cold.
Condensation caution: If you refrigerate or freeze seeds, keep them sealed until they are back at room temperature. Opening a cold container invites moisture to condense right onto your seeds.
How long do bean seeds last?
In decent conditions, bean seeds often stay viable for 3 to 5 years. Cool, very dry storage can extend that, while warmth and humidity shorten it fast. Saving fresh seed regularly keeps things simple.
Labeling that prevents mix-ups
Every gardener thinks they will remember, and then spring arrives and all the jars look the same.
- Variety name
- Harvest year
- Any notes you will care about later (flavor, productivity, disease issues, pole vs bush)
If you grew more than one variety, also note where it was grown in the garden. That helps you track possible crossing if something looks different next season.
Common problems
Pods got moldy on the plant
Usually caused by wet weather when pods are nearly mature. Next time, harvest earlier and finish drying indoors with airflow. Discard any seeds that show spotting, fuzz, staining, or a sour smell.
Seeds sprouted inside the pod
That is called vivipary and it can happen in long rainy stretches. Those seeds are not good for storage. Compost them and adjust timing next season.
Small holes in the seeds
This can be bean weevils. Discard damaged seeds. If you suspect pests in stored seed, freeze thoroughly dried seeds in an airtight container for 3 to 7 days. Then let the container return to room temperature before opening it to prevent condensation. (Some gardeners repeat a second 3 to 7 day freeze after a few days at room temperature for extra insurance.)
My saved seeds did not sprout well
The most common reasons are harvesting too early (seeds not fully mature), saving from stressed or diseased plants, or storing with too much moisture. Next season, let pods mature longer and give shelled seeds extra drying time before sealing them up.
Quick recap
- Pick strong, healthy plants to save seed from and tag them early.
- Let pods dry on the plant until tan and papery, if weather allows.
- Harvest pods and finish drying indoors if rain threatens.
- Shell seeds and air-dry them 7 to 14 days indoors.
- Store in an airtight container in a cool, dark place.
- Label everything with variety and year.
One last tip
If you are new to seed saving, do it on purpose with just one variety the first year. Tag a couple plants, let the pods go dry, and follow the drying and storage steps carefully. Once you see how straightforward it is, saving seeds becomes a normal part of your harvest routine, not a complicated project.

Jose Brito
I’m Jose Britto, the writer behind Green Beans N More. I share practical, down-to-earth gardening advice for home growers—whether you’re starting your first raised bed, troubleshooting pests, improving soil, or figuring out what to plant next. My focus is simple: clear tips you can actually use, realistic expectations, and methods that work in real backyards (not just in perfect conditions). If you like straightforward guidance and learning as you go, you’re in the right place.