Roasted green beans are one of those side dishes that look almost too simple to matter, until you do them right. The difference between browned, snappy beans and a tray of limp, steamed ones comes down to a few practical details: dry beans, hot oven, enough space on the pan, and timing.
If you grow your own beans, roasting is also a great way to use a quick harvest without overthinking dinner. It works with fresh garden beans, store-bought, or even trimmed beans that have been sitting in the fridge a couple of days.
What makes roasted green beans taste so good
Roasting concentrates flavor. Instead of boiling, which can leach some flavor into the water, you get:
- Blistered spots and browned edges from high heat
- Tender but not mushy texture, especially with thin or medium beans
- Room for simple seasonings like garlic, lemon, Parmesan, and chili
Think of it like this: your oven is doing what a hot skillet does, just hands-off.
Best beans to roast (garden and store-bought)
Almost any green bean will roast, but texture varies.
Fresh green beans
These roast the best. Look for beans that snap when bent and feel firm, not rubbery. Thinner beans brown faster and are easier to get crispy.
Romano (flat) beans
Great for roasting. They get tender with caramelized edges, but may need a few extra minutes because they are thicker.
Frozen green beans
Doable, but they are more likely to steam and soften. If frozen is what you have, roast them straight from frozen at high heat on a preheated pan, and expect a more tender result. (Frozen beans vary a lot by brand and how they were blanched, so times and browning can be a little less predictable.)
How to roast green beans (simple method that works)
This is the straightforward approach I use when I want predictable results.
Quick roasted green beans recipe
- Serves: 3 to 4 as a side (using 1 pound)
- Oven: 425°F (220°C)
- Time: 12 to 18 minutes depending on thickness
- Rack: Middle rack
- Pan: Rimmed sheet pan (not a deep baking dish)
- Fat: 1 to 2 tablespoons olive oil per pound of beans
- Salt: 1/2 teaspoon kosher salt per pound (plus more to taste)
Step-by-step
- Preheat the oven to 425°F. Give it time to fully heat up.
- Trim the ends (just the stem end is fine). Leave whole beans for best texture.
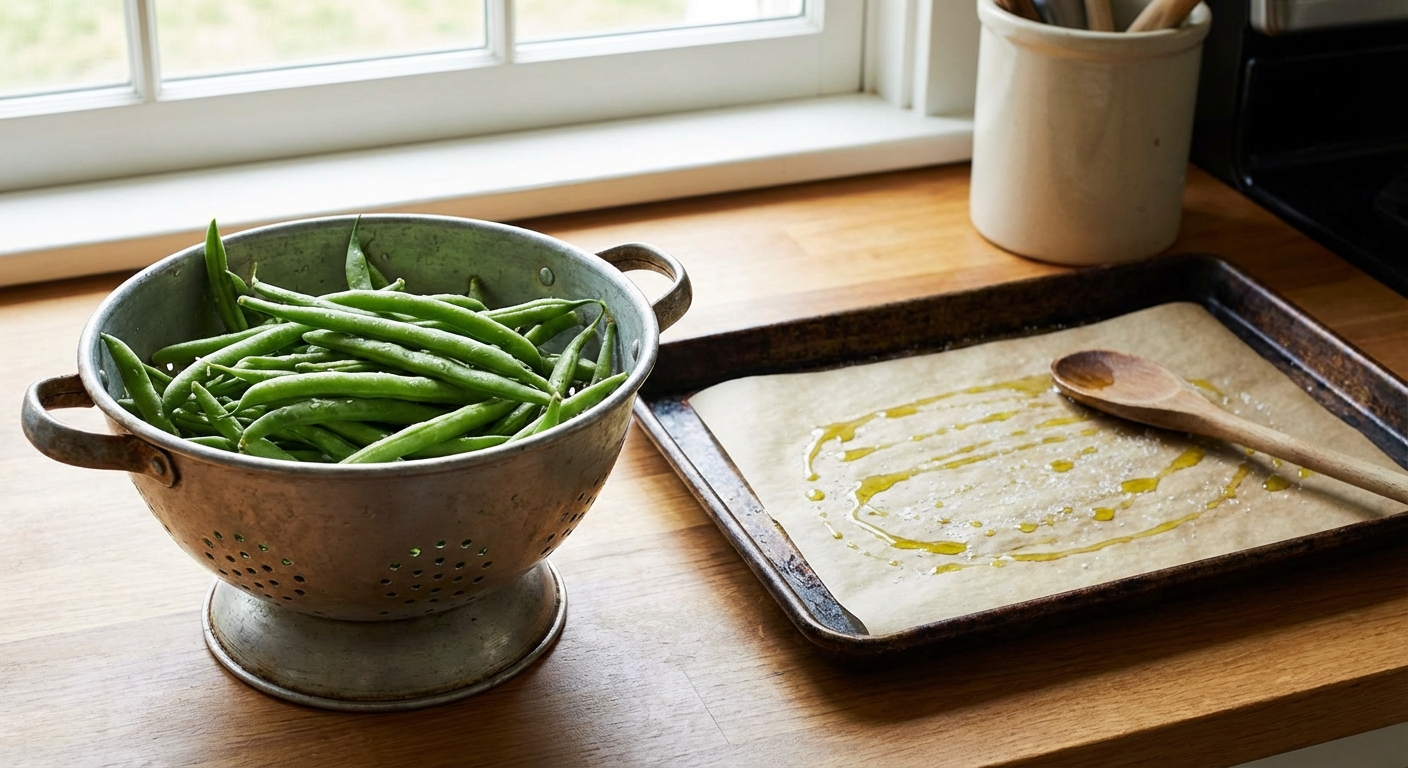
- Dry the beans well. If you wash them, towel dry. Water on the surface equals steaming.
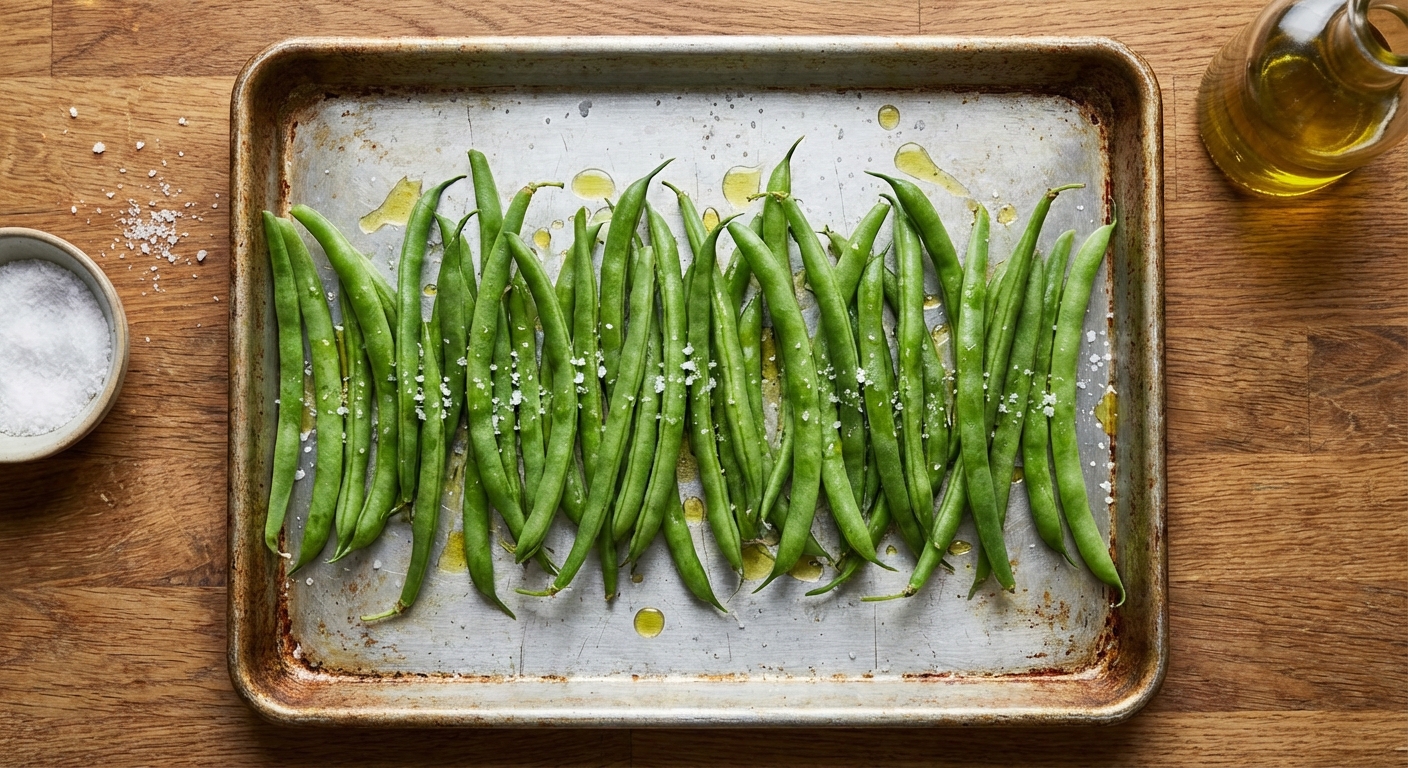
- Toss with oil and salt on the sheet pan (or in a bowl first), then spread into a single layer.
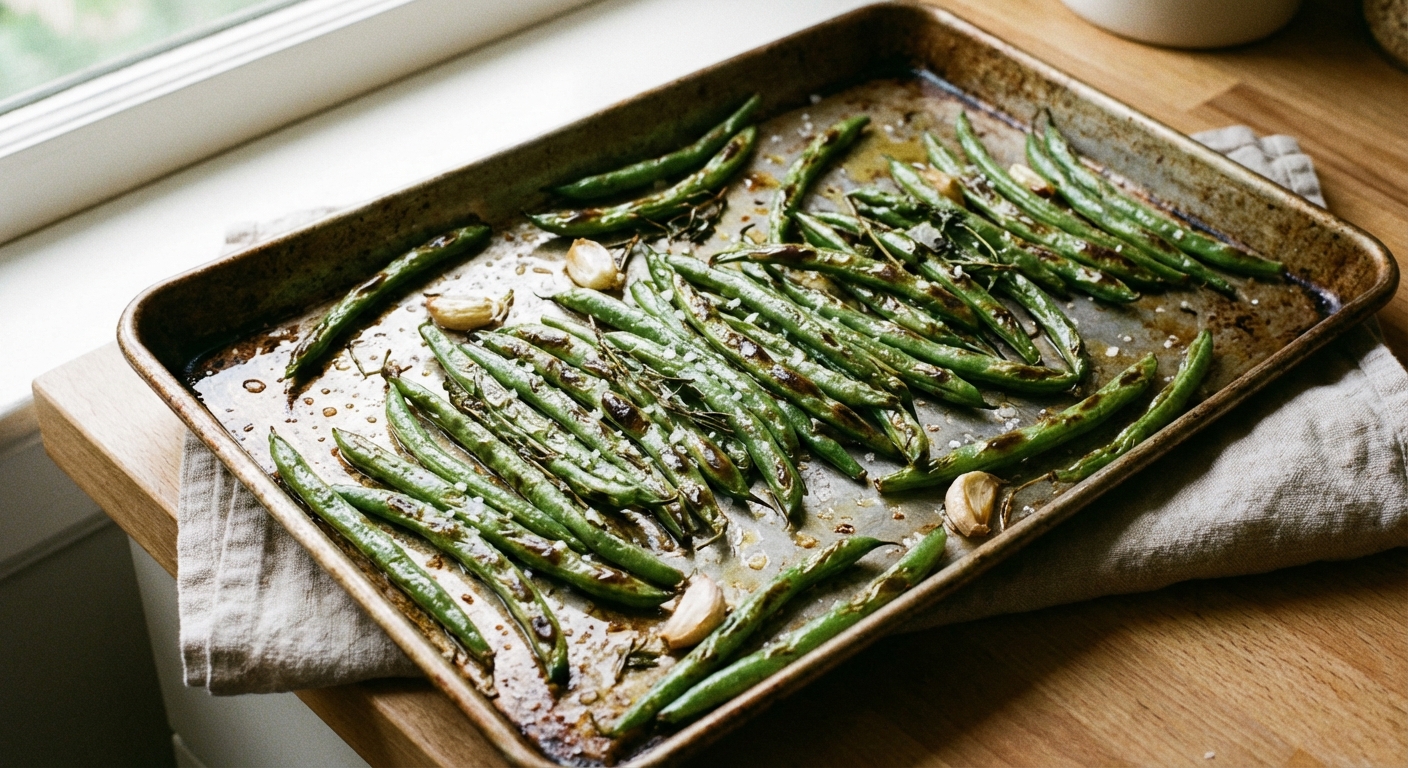
- Roast on the middle rack for 12 to 18 minutes, tossing once halfway through. You are looking for browned blisters, wrinkled spots, and beans that still have a little snap.
- Finish with pepper, lemon, garlic, cheese, or whatever you like.
How to get crispy roasted green beans (no soggy tray)
If your beans keep coming out soft and watery, it is usually one of these issues.
1) Dry beans matter more than you think
Even a little surface moisture creates steam. Pat them dry. If they are freshly picked and rinsed, give them a few minutes on a towel before oiling.
2) Do not crowd the pan
Crowding traps moisture and the beans steam each other. Use two pans if needed. This is the number one fix in most kitchens.
3) Use high heat and the right pan
425°F is a sweet spot. A rimmed metal sheet pan browns better than glass or ceramic because metal heats quickly and keeps the surface hot, which helps the beans blister instead of slowly softening.
If you use parchment for easy cleanup, it still works, but you may get slightly less browning than beans roasted directly on the pan.
4) Go easy on wet ingredients
Save lemon juice, balsamic, soy sauce, or butter for the end. Add them after roasting so you keep the crisp edges.
Seasoning ideas (simple to bold)
Roasted green beans can be plain and still good, but a small finish makes them feel like a real side dish, not an afterthought.
Everyday staples
- Garlic: Use garlic powder before roasting, or minced garlic in the last 2 to 3 minutes so it does not burn.
- Lemon: Zest before roasting, juice after roasting.
- Parmesan: Add in the last 3 to 5 minutes, or sprinkle after for a cleaner flavor.
- Black pepper: Best added at the end for stronger aroma.
Bold options
- Chili flakes + lemon for heat and brightness
- Smoked paprika for a warm, grilled taste
- Everything bagel seasoning as a quick all-in-one topper
- Toasted almonds or pecans for crunch (add after roasting)
Timing guide (so you can stop guessing)
Roasting time depends on bean thickness and how crowded the pan is. Use this as a starting point.
- Very thin beans: 10 to 14 minutes
- Standard grocery store beans: 12 to 18 minutes
- Thicker or Romano beans: 16 to 22 minutes
What you are looking for: wrinkled spots, browned blisters, and beans that bend but still have a little snap.
If you use convection (or an air-fry setting), start by lowering the temp by about 25°F and checking a couple minutes early.
Common problems and quick fixes
My beans are chewy
They may be older or very thick. Roast a few minutes longer, or blanch for 1 minute, dry well, then roast. For garden beans that got big fast, slicing them lengthwise also helps.
My beans are burnt but still tough
Oven may be running hot, or the beans are thick and dry. Drop to 400°F and roast a bit longer. If you need a rescue move for thick, stubborn beans, you can add 1 to 2 tablespoons of water to the pan halfway through to help them soften, then finish at high heat to dry them back out. This can reduce crispness a bit, but it beats tough beans. Safety note: adding water to a hot pan with oil creates instant steam and can splatter, so stand back and pour carefully.
My beans are watery
Too crowded, not dried, or pan choice. Use a metal sheet pan, spread out, and roast at 425°F. Also skip adding wet sauces until the end.
Make-ahead and leftovers
Roasted green beans are best right out of the oven. If you need to prep ahead:
- Trim and dry the beans earlier in the day, then refrigerate in a container lined with a paper towel.
- Toss with oil and salt right before roasting for best texture.
For leftovers, reheat on a sheet pan at 425°F for 5 to 8 minutes. The microwave works, but it softens them.
A gardener’s note: using just-picked beans
Freshly harvested green beans roast beautifully, but they can vary in size more than store-bought. If your harvest includes a mix, sort them roughly by thickness and roast the thicker ones a few minutes longer. And if you have a handful of slightly overgrown beans, they can still be used. Trim, slice lengthwise if needed, and roast them until tender.
Quick takeaway
- Roast at 425°F on a metal sheet pan on the middle rack.
- Dry the beans and do not crowd the pan.
- Keep wet sauces for the end, and finish with lemon, garlic, or Parmesan.
If you want, tell me what you are working with (fresh, frozen, or garden harvest) and what oven temp you usually use, and I can help you dial in the timing for your tray.

Jose Britto
I’m Jose Britto, the writer behind Green Beans N More. I share practical, down-to-earth gardening advice for home growers—whether you’re starting your first raised bed, troubleshooting pests, improving soil, or figuring out what to plant next. My focus is simple: clear tips you can actually use, realistic expectations, and methods that work in real backyards (not just in perfect conditions). If you like straightforward guidance and learning as you go, you’re in the right place.